Keeping your motorcycle’s chain properly adjusted is crucial for safe and smooth riding. A loose chain can cause jerky acceleration, imprecise handling, and premature wear on the chain and sprockets. Conversely, a chain that’s too tight can put undue stress on the drivetrain components and lead to decreased performance.This guide will equip you with the knowledge and steps to confidently tighten your motorcycle chain, ensuring optimal performance and extending the lifespan of your chain and sprockets.
Understanding Chain Slack: The Key to Proper Adjustment
The concept of chain slack refers to the up-and-down movement of the chain between the front and rear sprockets. Every motorcycle manufacturer specifies an ideal range of chain slack for their specific models.
Consulting your owner’s manual is vital to determine the recommended chain slack for your motorcycle. This measurement is typically given in millimeters (mm) or inches (in).
Here’s a general guideline to keep in mind, but always defer to your manufacturer’s specifications:
- Street bikes: 1.2 – 1.6 inches (30 – 40 mm)
- Dirt bikes: 1.4 – 2.0 inches (35 – 50 mm)
Tools You’ll Need:
- Rear wheel stand: Elevating the rear wheel off the ground is essential for safe and accurate chain adjustment.
- Socket wrench set: You’ll need sockets to loosen and tighten the axle nut and chain adjuster nuts.
- Tape measure or ruler: To measure the chain slack accurately.
- Adjustable wrench (optional): For holding the counter-nut while tightening the axle nut.
Step-by-Step Guide to Tightening Your Motorcycle Chain

-
Warm Up the Chain: Take your motorcycle for a short ride (around 5 minutes) to warm up the chain. This slight expansion allows for a more accurate measurement of chain slack when cold.
-
Secure the Motorcycle: Place your motorcycle on a rear wheel stand, ensuring it’s stable and secure.
-
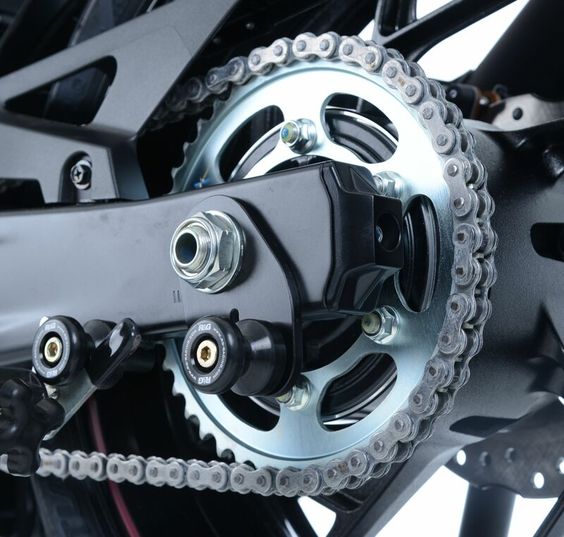
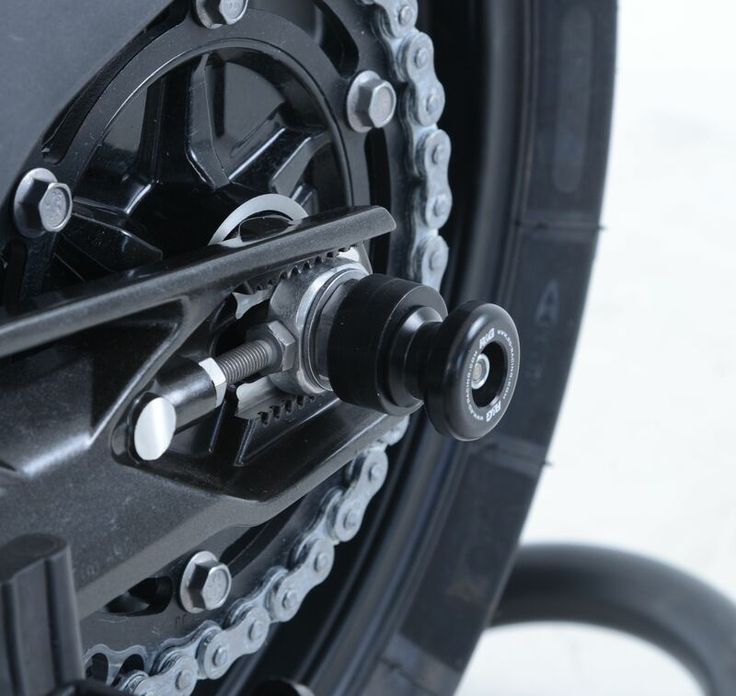
Locate the Chain Adjusters: On most motorcycles, chain adjusters are located on either side of the rear axle. These adjusters are typically bolts or eccentric nuts with markings indicating adjustment direction.
-
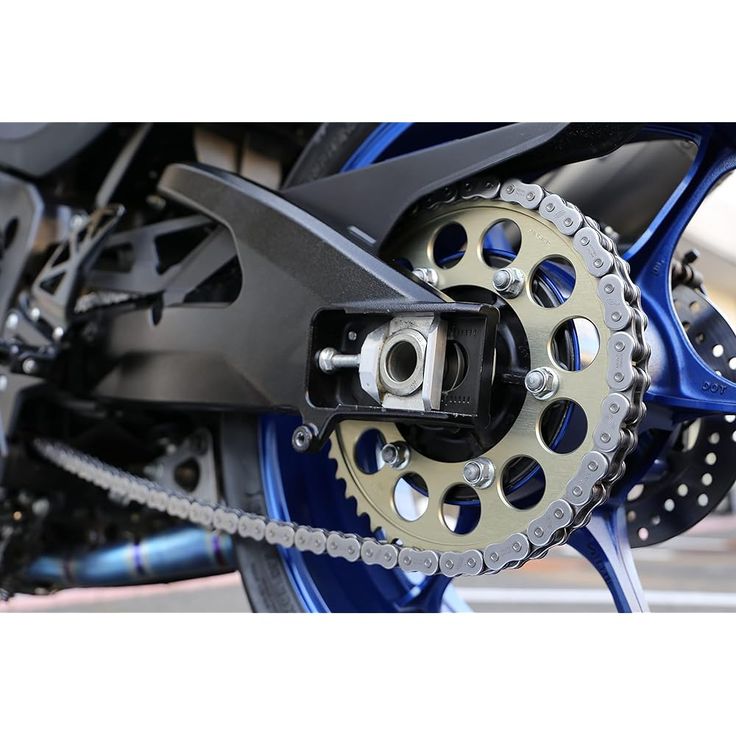
Loosen the Axle Nut: Using the appropriate socket wrench, loosen the axle nut on the right side of the swingarm by a few turns.** It’s important to note:** Never loosen the axle nut completely, as this can lead to wheel misalignment.
-
Adjust the Chain Slack: Locate the chain adjuster nuts on both sides of the swingarm. Turning these adjusters in small increments (quarter-turn at a time) will move the wheel forward (tightening) or backward (loosening) the chain. Make adjustments on both sides equally to maintain proper wheel alignment.
-
Measure the Chain Slack: With the adjusters loosened slightly, compress the chain midway between the front and rear sprockets with your fingers. Using your tape measure or ruler, measure the up-and-down movement of the chain.
-
Fine-Tune the Adjustment: Refer to your owner’s manual for the recommended chain slack specification. Continue making small adjustments to the chain adjusters until the chain slack falls within the recommended range.
-
Tighten the Axle Nut: Once the chain slack is correct, retighten the axle nut to the torque specification listed in your owner’s manual. Crucial Safety Tip: Use an adjustable wrench to hold the counter-nut on the opposite side of the axle while tightening the axle nut.
-
Re-check Chain Slack and Alignment: After tightening the axle nut, re-check the chain slack to ensure it hasn’t changed. Spin the rear wheel a few times and visually inspect the chain alignment. The chain should run straight between the sprockets without rubbing on either side.
-
Safety Check: Before hopping back on your motorcycle, double-check that the axle nut and chain adjuster nuts are securely tightened.
Additional Tips for Maintaining Your Motorcycle Chain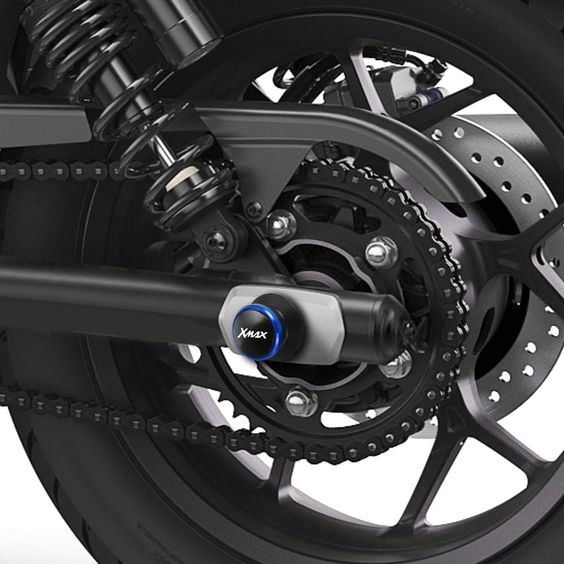
-
Regular Chain Cleaning and Lubrication: Regularly cleaning and lubricating your chain is essential to minimize wear and tear, optimize performance, and extend its lifespan. A good quality chain cleaner and lubricant specifically designed for motorcycle chains are recommended.
-
Chain Inspection: During chain cleaning, inspect the chain for signs of wear and damage, such as stiff links, tight spots, or excessive wear on the rollers and side plates. A worn-out chain should be replaced to prevent potential damage to other drivetrain components.
The Importance of Consistency: Maintaining Chain Adjustment
The frequency of chain adjustment depends on various factors, including your riding style, riding conditions, and the chain’s overall condition. However, a good rule of thumb is to check your chain slack every 200-300 miles (320-480 kilometers) and adjust it if necessary.
Here are some additional signs that your chain might need adjustment:
- Erratic Jerking: If you experience a jerky feeling during acceleration or deceleration, it could be an indication of a loose chain.
- Unusual Noises: A loose chain can generate clanking or rattling noises from the drivetrain.
- Visible Slack: If you can easily see the chain sagging between the sprockets without applying any pressure, it’s definitely too loose.
When to Replace Your Motorcycle Chain:
While proper maintenance can significantly extend the life of your motorcycle chain, there comes a time when replacement is necessary. Here are some indicators that your chain is due for a change:
- Exceeding the Wear Limit: Most motorcycle chains have wear marks on the side plates. When the chain rollers reach the same level as these wear marks, it’s time for a replacement. Refer to your owner’s manual for specific wear limit measurements.
- Stiff Links: If you encounter difficulty moving individual chain links by hand, it signifies excessive wear and potential seizing.
- Excessive Chain Stretch: Over time, motorcycle chains naturally stretch due to wear. If the chain slack exceeds the manufacturer’s recommended maximum even after adjustment, replacement is necessary.
Benefits of Maintaining Proper Chain Adjustment:
Maintaining a properly adjusted chain offers a multitude of benefits for your motorcycle:
- Smoother Operation: A correctly adjusted chain translates to smoother power delivery and a more enjoyable riding experience.
- Reduced Wear and Tear: Proper chain slack minimizes wear on the chain, sprockets, and other drivetrain components, extending their lifespan and saving you money on replacements.
- Improved Performance: A well-adjusted chain ensures optimal power transfer from the engine to the rear wheel, maximizing your motorcycle’s performance capabilities.
- Enhanced Safety: A loose chain can cause erratic handling and potential chain breakage, both of which can lead to accidents. Maintaining proper chain adjustment minimizes these risks and contributes to a safer riding experience.
Investing in the Right Tools:
Having the proper tools readily available makes chain maintenance a breeze. Here are some essential tools to consider:
- Chain cleaning tool: These specialized tools simplify the chain cleaning process by effectively removing dirt and grime from the chain links.
- Chain lube applicator: A chain lube applicator allows for precise and mess-free application of chain lubricant, ensuring proper coverage and minimizing overspray.
- Chain wear gauge: This tool provides a quick and accurate way to measure chain wear and determine when replacement is necessary.
By incorporating these tips and tools into your motorcycle maintenance routine, you can ensure your chain is always properly adjusted, lubricated, and in optimal condition, maximizing performance, extending lifespan, and keeping your rides safe and enjoyable.