
For motorcycle enthusiasts, maintaining a safe and reliable ride is paramount. One crucial aspect of motorcycle maintenance involves keeping your tires in top condition. Worn or damaged tires can significantly compromise your handling, stability, and braking performance. Knowing how to change a motorcycle tire empowers you to address potential issues promptly and get back on the road with confidence. This comprehensive guide explores the essential steps involved in changing a motorcycle tire, highlighting the necessary tools, safety considerations, and valuable tips for a smooth tire replacement process.
Understanding Tire Replacement Needs: Signs It’s Time for a Change
Several indicators signal the need for a motorcycle tire replacement:
-
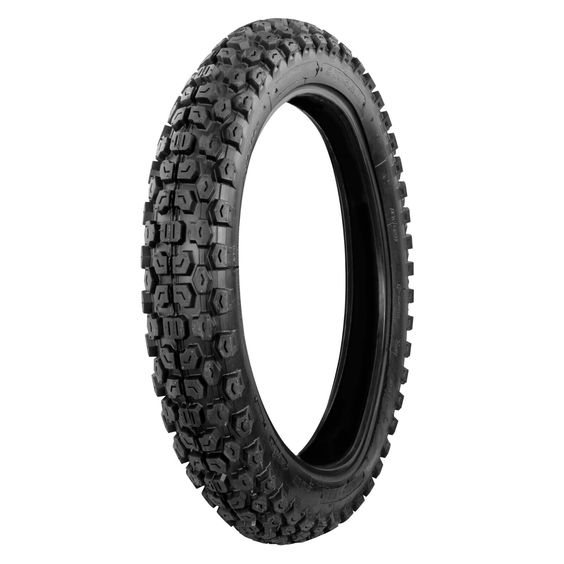
Tread Wear: The most common reason for replacing a tire is worn-out tread. Most motorcycle tires have built-in tread wear indicators, small raised sections that become level with the tread surface when the tire reaches its replacement point. Consult your motorcycle’s owner’s manual for the specific tread depth minimum recommended by the manufacturer.
-
Visible Damage: Cuts, punctures, or bulges in the tire sidewall compromise its integrity and pose a safety risk. Even a minor puncture can lead to a sudden deflation while riding. If you notice any visible damage, replace the tire immediately.
-
Dry Rot or Cracking: Over time, motorcycle tires can develop dry rot or cracking on the sidewalls, especially if exposed to harsh sunlight or extreme temperatures. This weakens the tire’s structure and necessitates replacement.
-
Tire Age: Even if the tread depth appears sufficient, motorcycle tires degrade over time due to exposure to sunlight and weather elements. As a general guideline, consider replacing tires older than five to six years, regardless of tread depth.
By being attentive to these signs, you can proactively address tire wear and ensure optimal performance and safety on the road.
Conquering the Second Bead: Essential Techniques
Mounting the second bead onto the rim can be the most challenging aspect of the entire process. Here’s how to tackle it effectively:
-
Tire Iron Positioning: Place one tire iron between the spoke of the rim and the tire bead, hooking the curved end under the lip of the rim. Position another tire iron a few inches away in the direction you’ll be working around the rim.
-
Leverage and Lubrication: Apply firm, downward pressure on the first tire iron to pry the tire bead over the rim. Bead lubricant is crucial here – apply it liberally along the tight section of the bead to reduce friction and make the process easier.
-
Progressive Work: Once a small section of the bead is secured on the rim, move the first tire iron further around the rim and repeat the prying motion with the second iron. Gradually work your way around the entire tire, steadily pushing the bead onto the rim.
-
Final Push: As you get closer to completing the bead installation, the final section might require extra effort. Use both tire irons together for leverage, applying controlled pressure to push the last bit of the bead onto the rim. Remember, be careful not to pinch the inner tube (if applicable) during this process.
-
Optional Technique (With Helper): If you have a helper, they can assist by holding the already-mounted section of the tire bead onto the rim while you use both tire irons to pry the final section. This can provide additional control and make the process slightly easier.
Important Note: Avoid using excessive force or prying at extreme angles. This can damage the tire bead or rim. Be patient, apply lubricant strategically, and work progressively around the rim.
Nearing the Finish Line: Tire Inflation and Final Touches
Once you’ve successfully wrestled both beads onto the rim, you’re nearing completion:
-
Valve Stem Installation: If you removed the valve stem during deflation, reinstall a new valve stem or ensure the existing one is in good condition and free of leaks. Screw the valve stem cap back on securely.
-
Inflation: Using a tire pressure gauge, inflate the new tire to the recommended air pressure specified in your motorcycle’s owner’s manual. The recommended pressure is typically listed on a sticker on the swingarm or near the fuel filler cap. Inflate the tire in short bursts, checking the pressure frequently to avoid overinflation.
-
Wheel Reinstallation: Carefully slide the wheel back onto the fork (front) or swingarm (rear), aligning the axle with the holes. Place the axle nut back on and tighten it snugly using the socket wrench.
-
Torque Specifications: It’s crucial to tighten the axle nut to the exact torque specifications outlined in your motorcycle’s owner’s manual. This ensures proper wheel alignment and safety. Use a torque wrench to achieve the precise torque setting.
-
Double-Check Everything: Before attempting to ride, double-check that the axle nut is tightened to specification, the valve stem cap is secure, and the tire pressure is correct. Visually inspect the tire to ensure it’s seated evenly on the rim and there are no bulges or imperfections.
Congratulations! You’ve successfully changed your motorcycle tire.
Investing in Safety: Additional Tips and Considerations
For an even smoother and safer tire replacement experience, consider these additional tips:
-
Practice Makes Perfect: If you’re a beginner, consider practicing tire changes on an old tire and rim before tackling your motorcycle’s actual wheels. This helps you become familiar with the tools and techniques.
-
Seek Help When Needed: Don’t be afraid to seek assistance from a qualified mechanic if you feel uncomfortable or encounter difficulties during the process. Their experience can ensure the job is done correctly and safely.
-
Invest in Quality Tools: Having the proper tools can significantly improve the ease and efficiency of the tire replacement process. Invest in good quality tire irons and a torque wrench to ensure proper axle nut tightness.
-
Tire Disposal: Don’t simply throw away your old motorcycle tire. Many motorcycle shops or recycling centers accept used tires for proper disposal.
By following these guidelines and prioritizing safety, you can change your motorcycle tire with confidence and keep your ride performing optimally.
Empower Yourself – Ride with Confidence!
The knowledge and skills you’ve gained through this guide empower you to tackle motorcycle tire changes independently. Being able to replace a tire on the road or at home translates to:
-
Reduced Downtime: A flat tire doesn’t have to derail your entire ride. With the ability to change a tire yourself, you can get back on the road quicker and minimize roadside assistance wait times.
-
Self-Reliance: The ability to perform basic motorcycle maintenance fosters a sense of self-reliance and empowers you to handle unexpected situations on the road.
-
Cost Savings: While the initial investment in tools might be present, changing your own tires can save you money compared to paying for professional service at every tire change.
Now that you’re equipped with the knowledge and essential steps, take the initiative to change your motorcycle tire. Remember, prioritize safety throughout the process, and refer to your motorcycle’s owner’s manual for specific torque specifications and recommendations.
Don’t wait for a flat tire to disrupt your ride! Order your new motorcycle tire today and empower yourself with the skills to change it with confidence. Hit the road prepared and experience the freedom and satisfaction of self-reliance on every journey.