Introduction
Building a motorcycle is an exhilarating journey that allows you to bring your visions to life. Not only does it provide you the satisfaction of constructing your vehicle, but it also offers an opportunity to understand the mechanics behind it. Whether you want to create a classic cruiser, a powerful chopper, or a vibrant sportbike, learning how to build a motorcycle requires careful planning, a clear understanding of necessary components, and attention to detail. For enthusiasts, this process can transform a collection of parts into a masterpiece that represents individuality and personal style. Throughout this guide, we will delve into the step-by-step process of building a motorcycle, covering everything from selecting parts and tools to assembly techniques, safety considerations, and customization options. So, whether you are a veteran rider or a novice, this guide will equip you with the information needed to successfully build your very own motorcycle.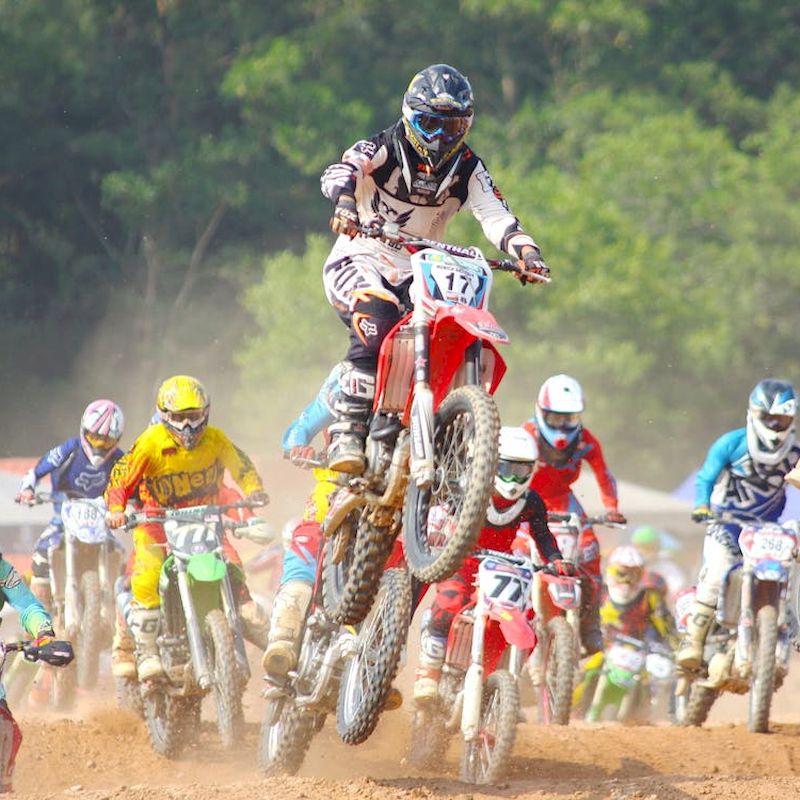
Understanding the Motorcycle Basics
Before embarking on the journey of learning how to build a motorcycle, it’s crucial to grasp the basic components and types of motorcycles. Understanding these fundamentals will aid you in making informed decisions throughout the building process.
Motorcycle Types and Their Components
Motorcycles come in various types, each designed for different purposes. Here are some common types:
- Cruisers: Known for their low seat height and relaxed riding position, cruisers emphasize comfort. Engines are typically larger, often with a V-twin configuration, making them ideal for leisurely rides.
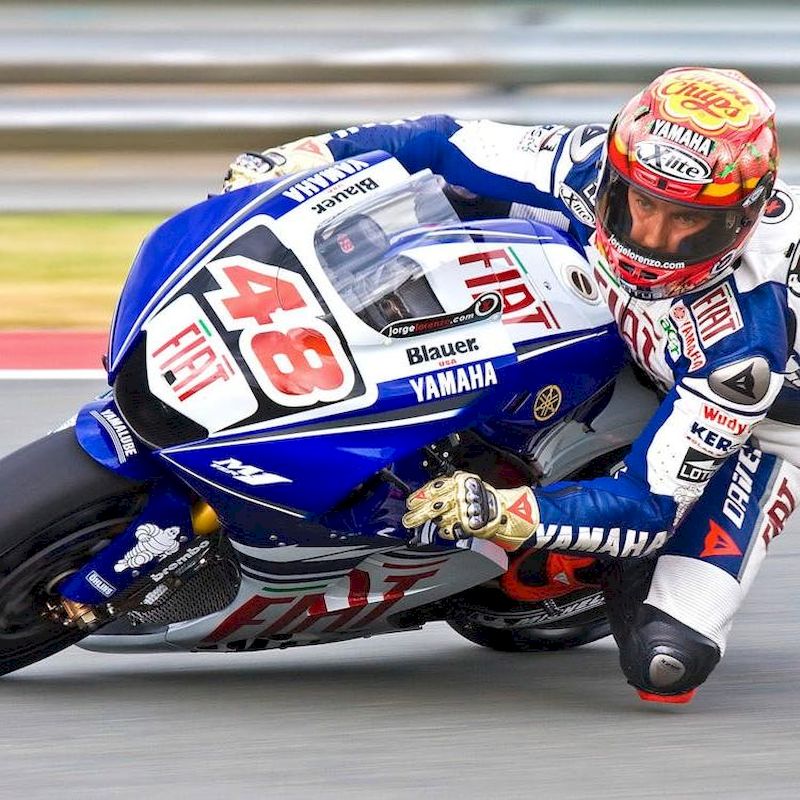
- Sportbikes: Built for speed and agility, sportbikes lean forward with a more aggressive riding position. They usually feature smaller engines but are designed to deliver high performance and superior handling.
- Touring Bikes: As the name suggests, touring bikes are made for long-distance travel. They come equipped with extra features, including saddlebags, comfortable seating, and advanced technology for navigation and communication.
- Dirt Bikes: Designed for off-road riding, dirt bikes are lightweight and nimble. They feature more suspension travel and specialized tires for better grip on uneven terrains.
Understanding these motorcycle types shapes your decisions regarding components, design, and the overall build process.
Essential Motorcycle Components
Familiarity with essential motorcycle components is vital when learning how to build a motorcycle. Here are key parts you’ll need:
- Frame: The backbone of the motorcycle, providing structural support for all other components.
- Engine: The powerhouse of the bike, converting fuel into mechanical energy. Choose an engine that suits your desired motorcycle type.
- Wheels and Tires: Responsible for mobility and stability, selecting appropriate wheels and tires is essential for performance.
- Suspension: The system that absorbs shocks and maintains contact with the road, ensuring a smooth ride.
- Brakes: Critical for safety, the braking system consists of calipers, rotors, and levers that help control speed.
- Fuel Tank: This holds the fuel needed for the engine. The design can significantly impact the motorcycle’s overall aesthetics.
Gathering the Necessary Tools
Building a motorcycle requires specific tools to ensure precision and safety during the assembly. Here’s a list of essential tools you may need:
- Wrenches and Sockets: Essential for tightening bolts and nuts.
- Screwdrivers: Different sizes of both Phillips and flat-head screwdrivers are necessary for various components.
- Torque Wrench: A critical tool for achieving precise torque specifications on bolts.
- Pliers: Useful for gripping and manipulating components.
- Cutting Tools: A hacksaw or cutting wheel can be handy for custom modifications.
- Measuring Tools: A tape measure and caliper are essential for accurate measurements.
- Safety Gear: Always wear safety glasses and gloves while working to protect yourself.
Having the right tools will streamline the building process and contribute to a successful motorcycle assembly.
Step-by-Step Guide on How to Build a Motorcycle
Now that you’ve laid the groundwork, it’s time to dive into the step-by-step process of building your motorcycle. This section outlines the main stages you’ll go through.
Designing Your Motorcycle
Before assembling parts, take time to design your motorcycle concept. Sketch your ideas or use design software to visualize your build. Consider the following:
- Style: Decide whether you want a sleek sportbike, a stylish cruiser, or a robust touring bike. This will influence the choice of parts and overall design.
- Purpose: Determine how you will use the motorcycle. Will it be for daily commute, weekend rides, or long-distance touring? Your intended use will guide your component choices.
- Budget: Establish a budget for your build. While it’s tempting to splurge on premium components, be realistic about what you can afford. Allocate funds to core components and customization options.
Once you have a clear design concept, you can move on to selecting parts.
Selecting Quality Parts
Finding quality parts is crucial for a successful motorcycle build. Depending on your design and purpose, here are key components to consider:
- Engine: Choose an engine that fits your design and performance goals. Common options for custom builds include V-twin engines, single-cylinder models, and inline-four configurations. Research reputable manufacturers and review performance ratings.
- Frame: The frame serves as the foundation of your motorcycle. Consider the size, style, and materials when selecting a frame. Common choices include steel, aluminum, and chrome-moly tubing.
- Suspension: Purchase quality suspension components to ensure a smooth ride. This could include front forks, shock absorbers, and swingarms. Brands like Öhlins and Progressive Suspension offer reliable options.
- Brakes: Select appropriate brake systems, including calipers, rotors, and master cylinders. Ensure compatibility with your frame and wheel size to maintain optimal performance.
- Wheels and Tires: Choose wheels that suit your motorcycle’s intended use. Dirt riders need rugged tires, while sportbikes require tires designed for speed and grip.
- Electronics: Consider how you will incorporate electronics, including turn signals, headlights, and ignition systems. Make sure they comply with local regulations for street use.
- Customization Options: Explore customization options like handlebars, seats, and paint finishes to make your motorcycle unique.
Once you have gathered your parts, the next step will be assembling them.
Assembling Your Motorcycle
The assembly process is where your design comes to life. Follow these steps carefully:
- Prepare Your Workspace: Ensure your workspace is clean and organized. Gather all tools and components needed for assembly.
- Frame Setup: Begin by preparing the frame. Ensure it is clean and free from debris. Install any necessary brackets or mounts for various components.
- Engine Installation: Carefully position the engine in the frame. This step may require assistance due to the engine’s weight. Secure it using bolts that are torqued to the manufacturer’s specifications.
- Wheels and Suspension: Install the front and rear suspension, then attach the wheels. Ensure the wheels are aligned correctly and that brakes are compatible.
- Exhaust System: Attach the exhaust system. Ensure that the pipes are routed correctly to prevent interference with other components.
- Electrical Components: Connect wiring for the ignition, lights, and any additional electronics. Take the time to ensure connections are secure and neatly arranged to avoid damage.
- Final Assembly: Install the fuel tank, seat, handlebars, and any other finishing touches. Verify that all components are secure and functioning correctly.
Testing and Troubleshooting
Once your motorcycle is assembled, it’s essential to perform testing and troubleshooting. This phase ensures that your build is safe and reliable.
- Safety Checks: Before starting the motorcycle, conduct safety checks. Inspect brake systems, lights, and throttle responsiveness to ensure all components work correctly.
- Fluid Checks: Ensure that all fluid levels—engine oil, coolant, and brake fluid—are topped off according to manufacturer specifications.
- Start the Engine: Carefully start the engine. Monitor for any unusual sounds or vibrations that may indicate issues.
- Road Testing: After starting, take your motorcycle for a short road test. Begin with low speeds and gradually increase to evaluate performance, handling, and braking capabilities.
- Monitor for Issues: Watch for potential issues such as oil leaks, overheating, or electrical problems during your test. Address any concerns immediately.
Customization and Personalization
The beauty of building your motorcycle is the opportunity for customization. Personalizing aspects of your build can enhance both aesthetics and performance.
- Paint and Graphics: Consider a custom paint job or graphics that reflect your personal style. This visual aspect can make your motorcycle truly one-of-a-kind.
- Upgraded Components: As you gain experience and knowledge, explore opportunities to upgrade components. High-performance exhaust systems, throttle bodies, and fuel injectors can enhance performance.
- Comfort Features: Consider adding comfort features like a gel seat or adjustable handlebars to improve your riding experience.
- Technical Integrations: Depending on your skills and interest, you may want to integrate advanced technology. GPS systems, Bluetooth capabilities, and custom lighting can enhance your motorcycle’s functionality.
By personalizing your motorcycle, you not only create a unique ride but improve its overall performance based on your preferences.
Maintenance and Care for Your Motorcycle
Once you’ve successfully built your motorcycle, ensure it remains in excellent condition through regular maintenance. Proper care will extend the life of your motorcycle and enhance performance.
Routine Maintenance Tasks
Engaging in routine maintenance tasks is vital for your motorcycle’s longevity. Here are some key areas to focus on:
- Oil Changes: Regularly change the engine oil and filter. This is a critical step in maintaining engine health. Follow the manufacturer’s recommended intervals for oil changes.
- Chain Maintenance: If your motorcycle has a chain drive, regularly lubricate and clean the chain for optimal performance and extended life. Check for signs of wear and adjust tension as needed.
- Brake Inspections: Regularly inspect brake pads, rotors, and fluid levels. Look for signs of wear and replace any components that are worn beyond safe limits.
- Tire Care: Inspect the tires for adequate tread depth and proper inflation. Maintaining tires contributes to safety and performance.
- Battery Maintenance: Monitor battery health regularly. Keep terminals clean, and check battery fluid levels if applicable.
Seasonal Preparations
Prepare your motorcycle for seasonal changes. In colder months, consider winterizing your bike to protect it:
- Storage Considerations: Store your motorcycle in a dry, sheltered area to prevent weather-related damage. Use a cover to protect it from dust and moisture.
- Fuel Additives: Consider adding fuel stabilizer if you plan on storing the motorcycle during winter months, which prevents fuel degradation.
Professional Maintenance
While performing regular maintenance is vital, consider seeking professional help for complicated tasks. Experienced mechanics can address issues that may require specialized knowledge.
- Service Intervals: Follow the manufacturer’s suggested service intervals for comprehensive inspections.
- Custom Adjustments: If you’ve made significant modifications to your motorcycle, consulting a professional for tuning can optimize performance.
By prioritizing maintenance, you can keep your motorcycle running smoothly for years, ensuring a positive riding experience.
Conclusion
Learning how to build a motorcycle is both an art and a practical skill. The process encompasses a range of actions, from designing your dream motorcycle to successfully assembling each component. A well-built motorcycle not only reflects personal style but allows you to explore the open road with confidence. Throughout this journey, understanding the basics of motorcycle types and components is essential. Having a firm grasp on the necessary tools, careful assembly, and maintenance will pave the way for a rewarding experience.
As you personalize your bike, consider what modifications resonate with your riding style. The opportunities for customization are vast, offering you a unique platform to express yourself. Beyond merely building a motorcycle, you create a connection between your craft and your passion for riding. By keeping maintenance a priority, you ensure that your motorcycle continues to perform at its best, no matter the conditions.
Embarking on the journey of building a motorcycle can be an incredibly fulfilling endeavor, rewarding you with skills, knowledge, and a vehicle that you created yourself. So gather your tools, select your parts, and embrace the adventure that lies ahead. With determination and creativity, you can turn your vision into reality and enjoy the freedom that comes with riding a machine you built with your own hands.