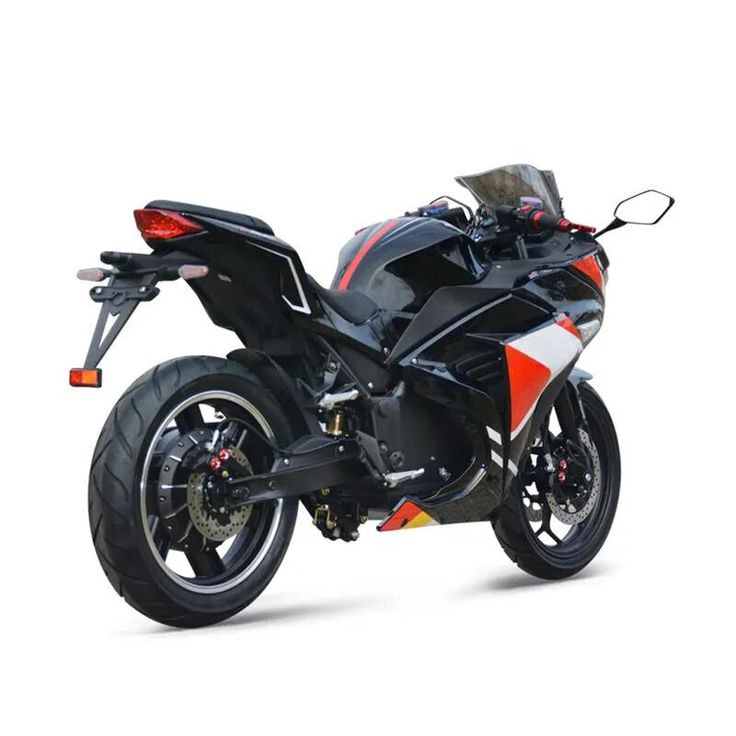
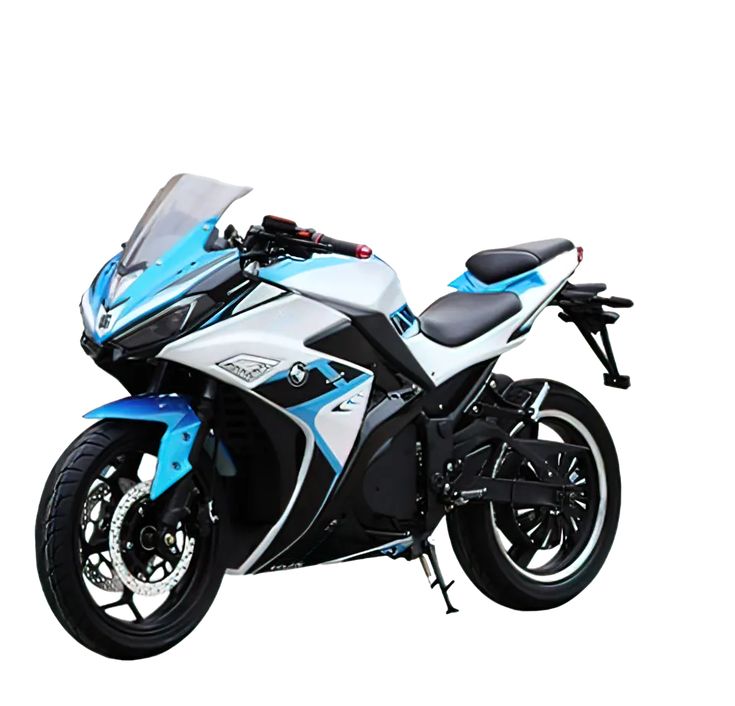
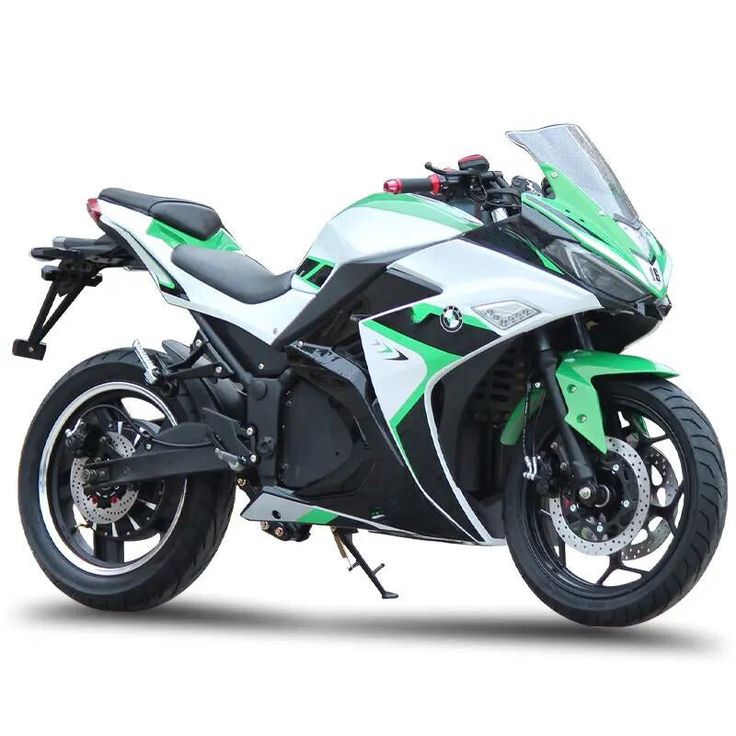
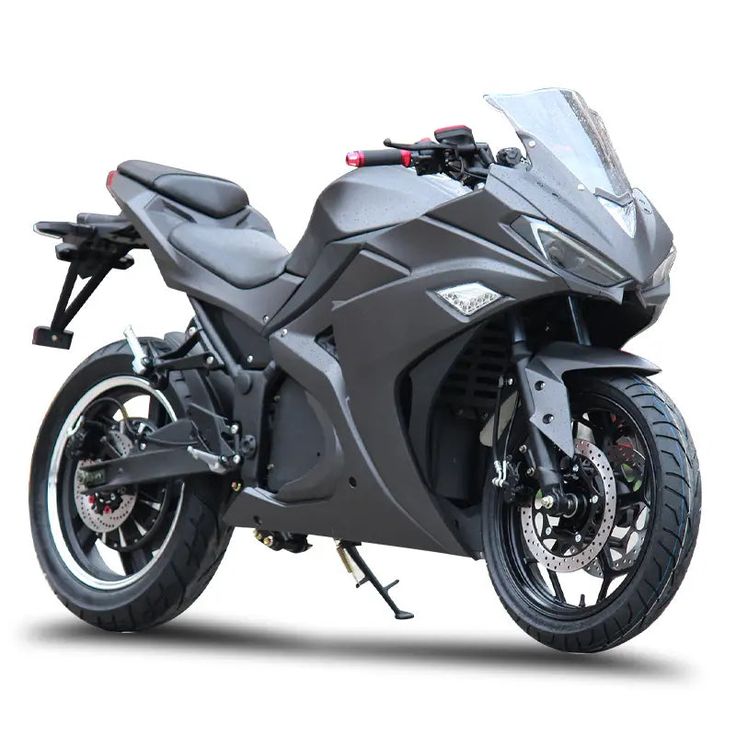
Ever dreamed of giving your motorcycle a head-turning makeover? Look no further than vinyl wrapping! This innovative technique allows you to completely transform the look of your bike with a vast array of colors, finishes, and even graphics. Not only is it a cost-effective alternative to paint, but vinyl wrapping also protects your motorcycle’s original paint job and offers easy removal if you ever decide to change styles.
However, vinyl wrapping a motorcycle requires meticulous attention to detail and a specific set of skills. This comprehensive guide will equip you with all the knowledge you need to vinyl wrap your motorcycle like a pro, from gathering the necessary tools to achieving a flawless finish.
Diving Deeper: Benefits of Vinyl Wrapping Your Motorcycle
While aesthetics are a major perk, vinyl wrapping offers more than just a cool new look for your motorcycle. Here’s a breakdown of the key benefits:
- Protection: Vinyl acts as a shield against scratches, chips, and UV rays, safeguarding your motorcycle’s original paint job.
- Customization: Unleash your inner artist! With a mind-boggling variety of colors, finishes, and even custom graphics, vinyl wrapping lets you personalize your motorcycle to reflect your unique style.
- Reversibility: Unlike paint, vinyl is removable. This allows you to easily revert back to your motorcycle’s original look or experiment with different styles without permanent alterations.
- Increased Resale Value: A well-maintained vinyl wrap can actually enhance your motorcycle’s resale value by showcasing a cared-for exterior.
- Easy Maintenance: Vinyl is generally easier to clean and maintain compared to a painted surface.
Gearing Up: Tools and Materials for Vinyl Wrapping
Before embarking on your vinyl wrapping adventure, ensure you have the right tools and materials at hand. Here’s a checklist to get you started:
- High-Quality Vinyl Wrap: Choose a reputable brand known for its conformability, durability, and ease of installation.
- Heat Gun: A heat gun is essential for activating the adhesive properties of the vinyl and ensuring a smooth, flawless application. Opt for a heat gun with adjustable temperature settings to avoid damaging the vinyl.
- Squeegee: This tool helps smooth out air bubbles and press the vinyl firmly onto the surface. Felt-tipped squeegees are ideal for vinyl wrapping as they prevent scratches.
- Sharp Utility Knife: A sharp knife is necessary for precise trimming of the vinyl. Opt for a retractable blade for added safety.
- Spray Bottle with Isopropyl Alcohol: This solution will be used for cleaning the motorcycle’s surface before applying the vinyl.
- Microfiber Cloths: Microfiber cloths are perfect for cleaning the surface and removing any fingerprints or smudges.
- Primer (Optional): For certain types of vinyl or challenging surfaces, a primer might be necessary to enhance adhesion.
- Application Tape (Optional): This can be helpful for complex areas or intricate designs.
Setting the Stage: Prepping Your Motorcycle for Vinyl Wrapping
A clean and well-prepped surface is paramount for a successful vinyl wrap. Here’s a step-by-step guide to prepare your motorcycle:
- Park Your Motorcycle in a Clean, Well-Lit Area: Ensure you have ample space to maneuver around the bike comfortably.
- Give it a Thorough Wash: Remove all dirt, grime, and any wax residue using a gentle motorcycle shampoo. Let the motorcycle dry completely before proceeding.
- Inspect the Surface: Look for any existing scratches, dents, or unevenness. These imperfections will show through the vinyl, so address them with appropriate sanding and touch-up paint if necessary.
- Mask Off Any Areas You Don’t Want Wrapped: Use masking tape to cover areas like headlights, taillights, and turn signals that you don’t want to be wrapped.
- Degrease the Surface: Wipe down the entire motorcycle surface with isopropyl alcohol to remove any lingering oils or residues that might affect adhesion.
The Art of Wrapping: Applying Vinyl to Your Motorcycle
Now comes the exciting part – applying the vinyl! Here’s a breakdown of the process:
- Start with Smaller Panels: It’s recommended to begin with smaller, more manageable panels like the fenders or side panels. This allows you to develop your technique before tackling larger, more complex areas.
- Layout and Cut the Vinyl: Lay the vinyl flat and measure the panel you’re working on. Cut a piece of vinyl slightly larger than the panel to allow for some wiggle room.
- Peel Back the Liner: Carefully peel back a small portion of the liner (the paper backing) of the vinyl to expose the adhesive side.
- Position the Vinyl: Carefully align the exposed adhesive section of the vinyl to the top edge of the panel.
Mastering the Wrap: Essential Techniques for Flawless Results
Positioning the vinyl is just the first step. Here’s how to achieve a professional-looking finish:
- Heat and Squeegee: Using low heat settings on your heat gun, gently warm the vinyl as you simultaneously squeegee it outwards from the center of the panel. The heat will activate the adhesive and allow you to stretch the vinyl over curves and contours. Work your way outwards, continuously pushing out any air bubbles trapped underneath.
- Trimming the Excess: Once the vinyl is smoothly adhered to the panel, use your sharp utility knife to carefully trim the excess material. For best results, cut the vinyl along the edge of the panel while holding the blade at a shallow angle. Tuck the trimmed edge underneath the panel for a clean finish.
- Tackling Curves and Corners: Complex areas like curves, corners, and vents require special attention. Use a combination of heat and gentle stretching to conform the vinyl to the shape. Be patient and avoid over-stretching, which can distort the vinyl or cause tearing. For tight corners, make small relief cuts in the vinyl to allow for a clean fold.
- Overlapping Panels: When working with multiple pieces of vinyl to cover a larger area, ensure proper overlap (usually around 1/4 inch) to create a seamless look. Overlap the subsequent piece slightly over the first piece and squeegee down firmly to create a strong bond.
Patience is Key: Common Challenges and How to Overcome Them
Vinyl wrapping your motorcycle can be an immensely rewarding experience, but it’s not without its challenges. Here are some common roadblocks you might encounter and how to navigate them:
- Air Bubbles: Small air bubbles are fairly common. Use a sharp point, like a pin, to gently prick the bubble and then squeegee out the trapped air.
- Wrinkles and Folds: Minor wrinkles can often be smoothed out using heat and a squeegee. However, for deeper creases, you might need to carefully peel back the vinyl, re-heat it, and reapply.
- Ripped Vinyl: If you accidentally tear the vinyl, don’t panic. Small tears can be repaired using a piece of scrap vinyl and some heat to create a patch. For larger tears, you might need to replace the entire section.
Remember: Patience is your best friend during the vinyl wrapping process. Take your time, work meticulously, and don’t hesitate to re-heat and reposition the vinyl if needed.
Unveiling Your Masterpiece: Aftercare and Maintenance Tips
Once you’ve successfully wrapped your motorcycle, it’s time to admire your handiwork! Here are some aftercare tips to ensure your vinyl wrap stays looking its best:
- Allow the Adhesive to Cure: Avoid washing your motorcycle or exposing it to extreme weather conditions for at least 24-48 hours to allow the adhesive to fully cure.
- Gentle Cleaning: When washing your wrapped motorcycle, use a mild soap solution and avoid harsh chemicals or abrasive sponges. Rinse thoroughly and pat dry with a microfiber cloth.
- Heat Wisely: Avoid direct exposure to high heat sources like exhaust pipes, as this can damage the vinyl.
- Sun Protection: Park your motorcycle in shaded areas whenever possible to minimize sun exposure and prevent the vinyl from fading over time.
Unleash Your Creativity: Design Inspiration and Resources
The beauty of vinyl wrapping lies in its endless customization possibilities. Here are some resources to spark your creativity:
- Online Vinyl Wrap Galleries: Explore online galleries showcasing motorcycles wrapped in a variety of colors, finishes, and graphics.
- Professional Wrap Shops: Consider consulting with a professional wrap shop for design inspiration and guidance on complex projects.
- DIY Vinyl Wrap Kits: Many online retailers offer pre-cut vinyl wrap kits specifically designed for different motorcycle models. These kits can simplify the process for beginners.
Take Action: Wrap Your Ride and Express Yourself!
Now that you’re armed with the knowledge and tools needed to vinyl wrap your motorcycle, it’s time to transform your vision into reality! Remember, practice makes perfect. Start with a small, manageable area to get comfortable with the technique before tackling larger sections.
Don’t be afraid to experiment and express your unique style! With a little dedication and this comprehensive guide, you can turn your motorcycle into a head-turning masterpiece that reflects your personality.